Non-Tier 1 DMZ
How to setup NetbookIT on Internet for DEECD school (non Tier 1 DMZ)
1 – Setup NetbookIT server as per guide, make note of local server’s IP address and NetbookIT’s port. (needs to be one of the following: 21, 25, 80, 110, 143, 443, 222, 3389)
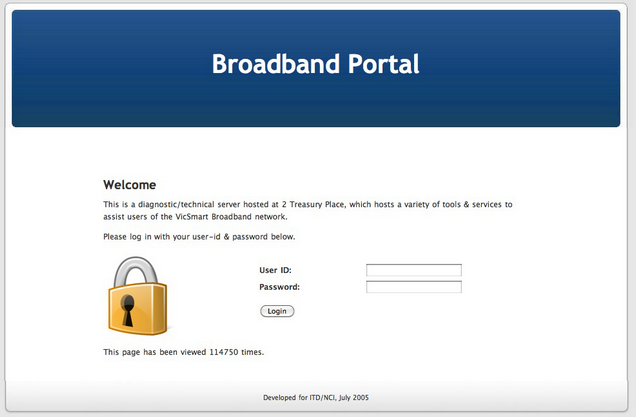
2 – Go to http://broadband.doe.wan/bbportal/
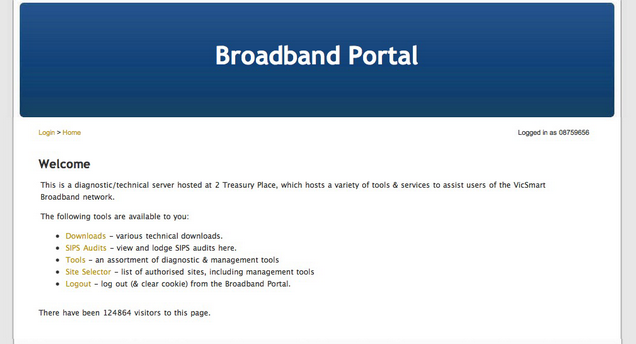
3 – Log in with edumail username and password (only TSSP or school tech will have access)

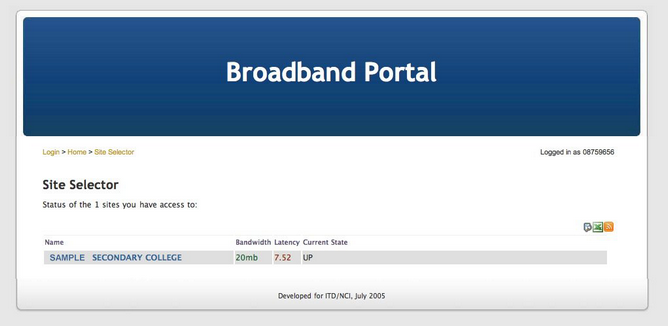
4 – Choose “Site Selector”

5 – Select your school. Take note of curriculum border IP address (external address NetbookIT will be available from)

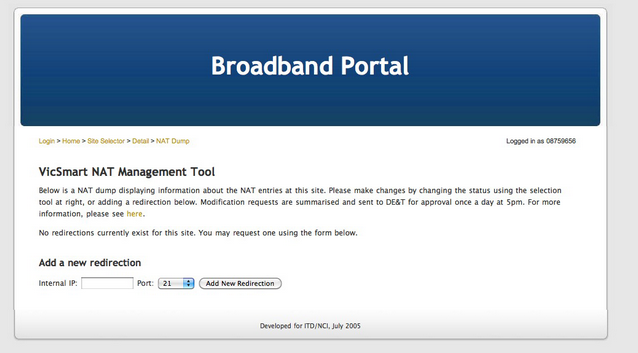
6 – Click “Redirections Add New”
![]()
7 – Enter the local server’s IP address and NetbookIT port.

8 – Wait for DEECD to add the redirection to your router.
9 – NetbookIT should be available to any web browser pointing to (Curriculum border IP address):port or www.schoolname.vic.edu.au:port or www.schoolname.vic.edu.au (if port 80).
To add DNS entry so 203.113.209.222 = http://bookit3.YourSchoolName.vic.edu.au
1 – Go to http://admin.vicone.netspace.net.au

2 – Logon with school’s netspace username and password (postmaster@schoolname.vic.edu.au)
3 – Click “Control Panel”

4 – Login to Plesk

5 – Click “Home”

6 – Click on your domain name.
7 – Click “DNS Settings”

8 – Click “Add Record”

9 – Select Record type “A” and enter what name you prefer (e.g netbookit) and the external Curriculum border IP address.
10 – OK
11 – Logout of Plesk.
12 – NetbookIT should now be available at your prefered DNS address.
